Nextcloud auf dem Home Server installieren (LXC) – Home Server selbst bauen TEIL 5
Sie sehen gerade einen Platzhalterinhalt von Standard. Um auf den eigentlichen Inhalt zuzugreifen, klicken Sie auf die Schaltfläche unten. Bitte beachten Sie, dass dabei Daten an Drittanbieter weitergegeben werden.
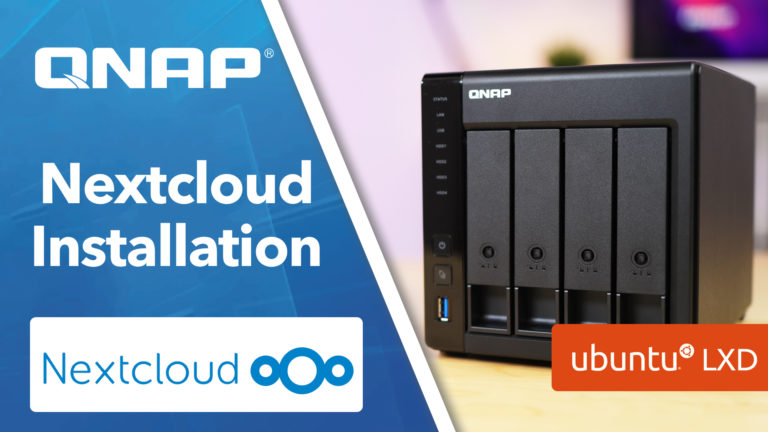
Mehr InformationenIn diesem Video zeige Ich euch, wie Ihr Nextcloud auf eurem Home-Server installieren könnt und wie Ihr anschließend Nextcloud aus dem Internet erreichbar machen könnt. Hierfür wird ein LXC (Linux Container) innerhalb von Proxmox verwendet.
Video:
PHP Caching für Nextcloud optimieren: https://cc.apfelcast.com/l1yoq
Wenn dir anstelle von Nextcloud die Apache Default Seite angezeigt wird, findest du hier ein Lösungsvideo zu diesem Problem: https://cc.apfelcast.com/4e8rf
nextcloud.conf Datei: https://cc.apfelcast.com/i94ay
OnlyOffice Installation inkl. Verbindung zu Nextcloud: https://youtu.be/mxKqa6fwRyQ
Portfreigaben & DynDNS auf der FritzBox: https://youtu.be/0ZhKv-DTnwQ
DynDNS einrichten (ohne Fritz!Box): https://youtu.be/AhrXxHwbss8
DynDNS Dienst: http://duckdns.org
### Install Nextcloud on Home Server ###

# updating
apt-get update
apt-get upgrade

# Installing LAMP-Stack
apt install lamp-server^

# Install PHP Moduls
apt install php-zip php-dompdf php-xml php-mbstring php-gd php-curl php-imagick php-intl unzip

# adjust PHP.ini file
nano /etc/php/7.4/apache2/php.ini

file_uploads = On
allow_url_fopen = On
memory_limit = 1024M
upload_max_filesize = 16G
post_max_size = 16G
display_errors = Off
date.timezone = Europe/Berlin

# Maria DB Server Konfiguration
mysql_secure_installation

# open SQL dialoge
mysql

# create database calles nextcloud
CREATE DATABASE nextcloud;

# create database user with password
CREATE USER 'nextclouduser'@'localhost' IDENTIFIED BY 'password_here';

#grant accesss to databse
GRANT ALL ON nextcloud.* TO 'nextclouduser'@'localhost' IDENTIFIED BY 'password_here' WITH GRANT OPTION;

#save changes and exit
FLUSH PRIVILEGES;
EXIT;

# Download lastest nextcloud version
cd /tmp && wget https://download.nextcloud.com/server/releases/latest.zip
unzip latest.zip
mv nextcloud /var/www/

#create new conf
nano /etc/apache2/sites-available/nextcloud.conf

# Enable the NextCloud and Rewrite Module

a2ensite nextcloud.conf
a2enmod rewrite
a2enmod headers
a2enmod env
a2enmod dir
a2enmod mime

# restart apache
systemctl restart apache2.service

# prepare data folder
mkdir /home/data/
chown -R www-data:www-data /home/data/

chown -R www-data:www-data /var/www/nextcloud/
chmod -R 755 /var/www/nextcloud/

## make hostname visible on network ##
apt-get install avahi
nano /etc/hosts
add hostname

--> Domain ansurfen und Einrichtung abschließen

#install certbot
apt-get install python-certbot-apache

certbot --apache -m master@domain.com -d cloud.domain.com

#--> only lasts 90 days

#install crontab
crontab -e

0 1 * * * /usr/bin/certbot renew & > /dev/nul
apfelcast Support
Du benötigst Unterstützung bei deinem Projekt oder hast Fragen zur Umsetzung?
Dann melde ich gern bei uns!
[button link=“https://apfelcast.com/kontakt“ type=“big“ class=“ custom-button“] Kontaktieren[/button]
apfelcast Support
Du benötigst Unterstützung bei deinem Projekt oder hast Fragen zur Umsetzung?
Dann melde ich gern bei uns!


